PvP • Standard and Team
Deathmatches
A complete Deathmatches family guide: from first access through the correct index and a safe first run to repeats without mixing in temporary bonuses.
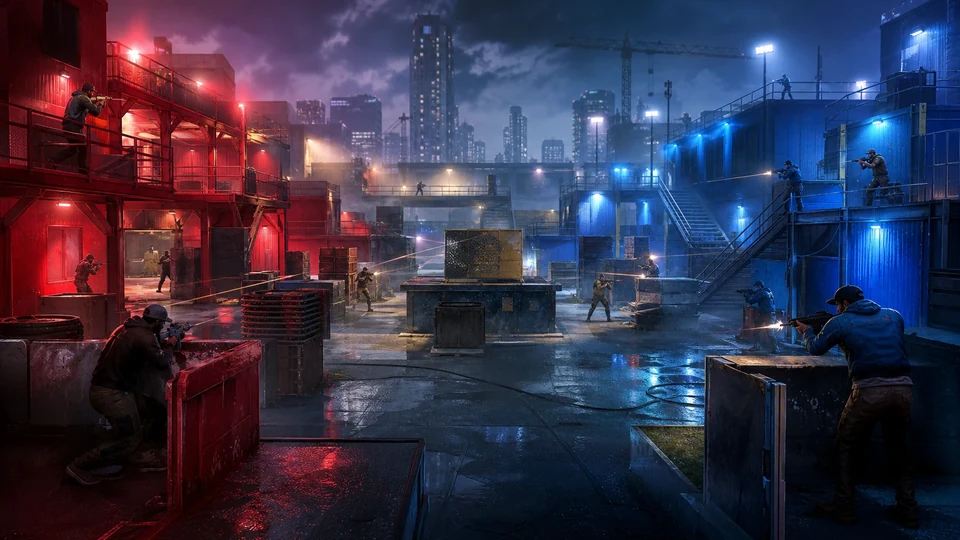 DEATHMATCHES
Complete activity guide
Deathmatches: the index and access are sourced; reward figures below are separated from events and carry their own confidence.
Start here
Deathmatches
Pause → Online → Jobs → Play Job → Rockstar Created → Deathmatches; the host checks Standard or Team Deathmatch.
No property; Standard is generally 2–16, Team up to 30 depending on map.
Enable Matchmaking, select Rockstar Created and choose another durable map in the family if one entry is hidden.
Players
2–30 depending on Job
Access
No property; Standard is generally 2–16, Team up to 30 depending on map.
Job fee
No persistent launch fee; required purchases are stated above.
01 • First completion, step by step
First completion, step by step
01 Start: Standard Deathmatch
- ACTION
- Choose a short Rockstar Created Deathmatch.
- TIP
- Choose a short Standard Deathmatch, learn the spawns and move cover-to-pickup rather than through the centre.
- RISK / FAILURE CONDITION
- If the “No property; Standard is generally 2–16, Team up to 30 depending on map.” gate is not met, Standard Deathmatch will not save the intended progression.
- HOW TO RECOVER THE RUN
- Enable Matchmaking, select Rockstar Created and choose another durable map in the family if one entry is hidden.
02 Deathmatches index
- ACTION
- Check kill/time limit, pickups, radar, team balance and lives.
- TIP
- Confirm “Standard Deathmatch” before the first launch, then progress to “Vehicle / weapon-set variants” through the index.
- RISK / FAILURE CONDITION
- Choosing an entry outside the Deathmatches index changes the mechanics or does not save this strand.
- HOW TO RECOVER THE RUN
- After a bad respawn change the route, regroup and do not feed the opponent with solo pushes.
03 Flow: Standard Deathmatch → Vehicle / weapon-set variants
- ACTION
- Control cover and spawns, collect weapons/healing and play to the selected limit.
- TIP
- In Team Deathmatch the anchor controls spawn and health while the flanker pushes only after enemy positions are called.
- RISK / FAILURE CONDITION
- The selected map and lobby enforce a vehicle, weapon set or combat zone. Losing the objective before the last checkpoint requires a restart from the save.
- HOW TO RECOVER THE RUN
- After a bad respawn change the route, regroup and do not feed the opponent with solo pushes.
04 Settle Vehicle / weapon-set variants
- ACTION
- Finish “Vehicle / weapon-set variants”, remain through the result screen and confirm this family's progress save.
- TIP
- After settlement verify that Deathmatches marks its final entry complete.
- RISK / FAILURE CONDITION
- Leaving before the “Vehicle / weapon-set variants” result can forfeit progression or reward.
- HOW TO RECOVER THE RUN
- Replay “Vehicle / weapon-set variants” as the correct host/operator and wait for the full session return.
05 Deathmatches replay
- ACTION
- Return to: Pause → Online → Jobs → Play Job → Rockstar Created → Deathmatches; the host checks Standard or Team Deathmatch. Then choose a named indexed entry rather than a random family.
- TIP
- Choose a short Standard Deathmatch, learn the spawns and move cover-to-pickup rather than through the centre.
- RISK / FAILURE CONDITION
- A missing “Standard Deathmatch” indicates an unmet gate or different pool, not permanent removal of the whole family.
- HOW TO RECOVER THE RUN
- Enable Matchmaking, select Rockstar Created and choose another durable map in the family if one entry is hidden.
02 • Variants and mechanics
Variants and mechanics
Standard Deathmatch
2–30 depending on JobPause → Online → Jobs → Play Job → Rockstar Created → Deathmatches; the host checks Standard or Team Deathmatch.
- OBJECTIVE
- Every player fights for an individual score or kill limit.
- MECHANIC
- Control spawns, collect weapons and armour and reach the individual kill limit without feeding streaks in open ground.
- COMPLETION
- The round ends at the score limit or timer; the highest individual score wins.
- HOW TO RECOVER THE RUN
- After a bad respawn reroute to a safe pickup and wait for the opponent to leave the firing lane.
Team Deathmatch
2–30 depending on JobPause → Online → Jobs → Play Job → Rockstar Created → Deathmatches; the host checks Standard or Team Deathmatch.
- OBJECTIVE
- Two teams share the score and use the configured respawn rules.
- MECHANIC
- The anchor holds spawn and resources, the flanker pressures the side and both players' kills feed the shared team score.
- COMPLETION
- Team Deathmatch settles when a team reaches the score limit or leads when time expires.
- HOW TO RECOVER THE RUN
- After repeated deaths regroup at spawn cover and make one coordinated exit instead of feeding alone.
Vehicle / weapon-set variants
2–30 depending on JobPause → Online → Jobs → Play Job → Rockstar Created → Deathmatches; the host checks Standard or Team Deathmatch.
- OBJECTIVE
- The selected map and lobby enforce a vehicle, weapon set or combat zone.
- MECHANIC
- First secure the forced vehicle or weapon pickup, learn its respawn zone and fight within the map restriction.
- COMPLETION
- The variant settles the same kill/score target, but only actions enabled by its configuration produce effective progress.
- HOW TO RECOVER THE RUN
- After losing the vehicle do not rush the enemy spawn; wait for its respawn or rotate to a secondary pickup.
03 • Real roles / Strategies
Real roles i Strategies
Solo combatant
Owns the score in Standard.
Anchor / flanker
In Team one holds terrain while another flanks.
Choose a short Standard Deathmatch, learn the spawns and move cover-to-pickup rather than through the centre.
In Team Deathmatch the anchor controls spawn and health while the flanker pushes only after enemy positions are called.
04 • Reward and economic status
Result and Job configuration • no single table
Pay depends on the specific Job, result, time and settings. There is no single defensible family-wide table, so no sustainable $/h or event multiplier is calculated.
Observed range specific to this activity; variant, result, duration or completion condition selects the value within it. Event multipliers are excluded.
B • community-reportedThe formula and roles apply to the stated settlement unit; event multipliers are excluded.
B • community-reportedRepeats follow normal Job availability; one-time awards and weekly bonuses are not baseline pay.
CONFIDENCE: Modes/access A/B; variable economics05 • Common mistakes and recovery
Common mistakes and recovery
The selected mode does not match the plan
Before launch check Standard/Team, radar, pickups, lives and score limit.
The team feeds the enemy spawn one by one
Regroup outside the firing lane and push together on two routes.
Weapons are missing after respawn
Route to a safe pickup; do not return directly into the enemy sight line.
06 • Readiness checklist
Readiness checklist
- I know whether this is Standard or Team Deathmatch
- I checked time/kill limits and lives
- I know a safe spawn and health pickup
- In Team we have an anchor and flanker
- After respawn I regroup before attacking
07 • What next
What next
VIDEO
Video walkthrough
Current search · EN
Find a current walkthrough: Deathmatches
Text-only curation on 2026-08-29 found no adequate complete English walkthrough. These are specific results for Deathmatches; choose a current guide.
No verified direct video has been found in this language yet. The link opens activity-specific results so you can choose a current walkthrough.
- Channel
- YouTube
- Checked
- 29 Aug 2026