Heist • 4P
Series A Funding
Five setup jobs collect separate shipments for Trevor, followed by a warehouse defence and two-vehicle delivery finale.
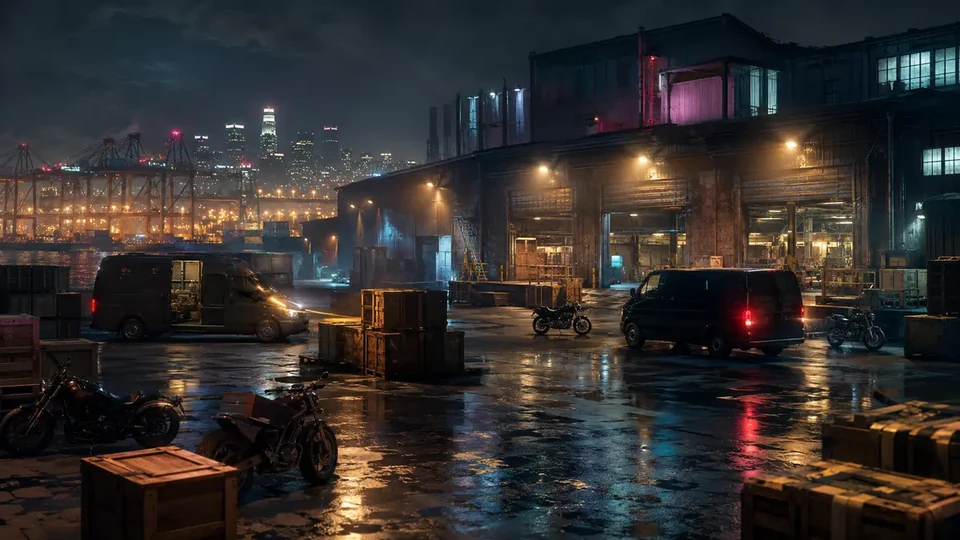 SERIES / A
01
Complete financial model
ADJUSTABLE CUT
Manual finale split
Set every player's cut. The minimum is 15%, adjustments use 5% steps, and the total always remains 100%.
Cut total100%
48 minGroup heists have a 48 min wait after the finale.
Verified permanent rules
Gross finale pool — Series A
- The host's per-activity state determines first-weekly finale eligibility; the increase covers every player. Unofficial partner rates are labelled separately in the model.
| Payout target | Repeat — Normal | Repeat — Hard | First weekly — Normal | First weekly — Hard |
|---|---|---|---|---|
| Finale | $707,000 | $883,750 | $1,060,500 | $1,325,625 |
Easy: $353,500 repeat / $530,250 first-weekly. Cuts and the setup fee are separate.
ranking baseline: the host takes the maximum cut and every partner gets 15%; the guide supports individual cuts, while the host pays the setup cost
02
Complete step-by-step operation
OPERATIONS GUIDE V2 • QUATRO
Five setup jobs collect separate shipments for Trevor, followed by a warehouse defence and two-vehicle delivery finale.
Start here
- Buy a High-End apartment through Dynasty 8 and complete Lester's introduction to the original heists.
Enter the planning room and select “Series A Funding — complete flow” from the available heist sequence.
The heist planning room in the host's High-End apartment.
The original heist planning board.
- Extra garage space, apartment décor and personal vehicles can help travel but do not unlock the heist.
First run and replay
These are two persistent story instructions. They are not the finance calculator's weekly-variant switch.
First story playthrough
The first playthrough takes the host through the required “Series A Funding — complete flow” setups in order before the finale unlocks.
Story replay
After completion, return to the planning room or accept Lester's contact; a replay again requires the selected heist's setups.
Official mission order
- 01
setup Coke
Recover the shipment from the yacht and the Fratelli club.
- 02
setup Trash Truck
Collect the marked packages using the garbage truck.
- 03
setup Bikers
Infiltrate the Lost MC and extract the product vans.
- 04
setup Weed
Steal the truck and Technical from the Ballas convoy.
- 05
setup Steal Meth
Steal the tanker and deliver it to the lab.
- 06
finale Series A Funding
Defend the warehouse, extract both vehicles and deliver the shipment to Trevor.
Strategies that genuinely change the route
Warehouse defence, then two vehicles
- When
- After all five supply setups and finale sectors are assigned.
- Plan
- Defend the warehouse without chasing waves, then transition to the Technical and second vehicle and drive as one convoy to the lighthouse.
- Trade-off
- Fixed sectors limit blind spots; in convoy the Technical needs sight of pursuit without abandoning the second transport.
Plan for the selected team: QUATRO
Selected in the calculator • QUATRO for “Series A Funding — complete flow”: Warehouse lead; Technical driver; Technical gunner; Second-vehicle escort.
Concrete roles
Assigns sectors, protects stock and calls the move to vehicles.
Keeps a stable route and presents pursuit to the mounted weapon.
Prioritizes vehicles threatening either transport.
Drives the second transport within the Technical's cover range.
Actions, risk and run recovery
- 01
setupCoke - Action
- Split into Boat and Helicopter Teams, board the yacht, collect every cocaine package from its decks and escape by sea or air.
- Tip
- On the yacht assign one Coke collector and two players to hold the return route.
- Risk / failure condition
- A scattered crew leaves packages or the objective player trapped below deck.
- How to recover the run
- Return to the last stairwell, collect packages by sector and leave on the cleared route.
- 02
setupTrash Truck - Action
- Steal the Trashmaster, assign Operators to cover and Collectors to load all four sets of pill-filled bags at the Vagos pickup points.
- Tip
- Position the Trash Truck so two players can load bags without crossing the street.
- Risk / failure condition
- Poor truck placement extends the stop and brings police onto collectors.
- How to recover the run
- Back the truck to the bags, clear the nearest street and finish one stop at a time.
- 03
setupBikers - Action
- Approach the Lost MC camp at night, remove targets quietly before the alarm is raised, then steal the two product vans.
- Tip
- In Bikers secure the vans first, then move them as one convoy.
- Risk / failure condition
- A lone van can be destroyed before the second leaves the area.
- How to recover the run
- Hold the lead van behind cover, wait for the second and only then resume delivery.
- 04
setupWeed - Action
- The Ground Team clears the Paleto Forest sawmill and takes two Bensons while the Lookout Team secures the Technical used to escort them.
- Tip
- For Weed split collection from cover and confirm every package before leaving.
- Risk / failure condition
- A missed package forces a return under renewed fire.
- How to recover the run
- Do not leave the field; check the final marker, collect the missing item and depart as one convoy.
- 05
setupSteal Meth - Action
- Equip masks, clear the O'Neil farm, hook up the chemical tanker and protect it on the drive to Ace Liquor.
- Tip
- In Steal Meth one pair protects the tanker while the other opens the delivery route.
- Risk / failure condition
- A destroyed tanker fails the setup regardless of cleared enemies.
- How to recover the run
- Hold the rig outside fire, remove blocking vehicles and resume under full cover.
- 06
finaleFinale positions - Action
- At the TPI warehouse, split between the north and south sides; each sector must keep the incoming gangs away from the stored product.
- Tip
- Before the finale name warehouse defenders, two drivers and two gunners.
- Risk / failure condition
- No assignment causes seat swapping during the first wave and exposes the product.
- How to recover the run
- Hold at the positions, fill roles and only then start the defense.
- 07
finaleWarehouse defence - Action
- Defeat the Vagos, Lost, Ballas and O'Neil waves while keeping Trevor and both delivery vehicles safe.
- Tip
- Defenders do not leave the warehouse until the final wave is confirmed.
- Risk / failure condition
- Chasing one vehicle opens the other entrance and lets enemies destroy stock.
- How to recover the run
- Return to the assigned entrance, rebuild crossfire and finish the nearest wave.
- 08
finaleVehicle assignments - Action
- Once the warehouse is clear, crew both product vehicles while the remaining players take the armed Technical to escort the convoy.
- Tip
- Drivers take one vehicle each and gunners stay with them to the lighthouse.
- Risk / failure condition
- Seat swaps split the convoy and leave one shipment without its gunner.
- How to recover the run
- Stop both vehicles in a safe pull-off, restore pairs and resume together.
- 09
finaleRun to the lighthouse - Action
- Keep the vehicles together, prioritize helicopters and roadblocks, and avoid rolling or losing either truck.
- Tip
- The lead chooses one lighthouse route and slows at roadblocks for the second vehicle.
- Risk / failure condition
- A large gap lets attackers focus on the rear shipment.
- How to recover the run
- The lead stops at the next cover, gunners clear the roadblock and regroup the convoy.
- 10
finaleDelivery - Action
- Deliver both shipments to the buyer at El Gordo Lighthouse; the finale completes only when the required vehicles arrive intact.
- Tip
- Bring both vehicles into the delivery zone before anyone leaves their seat.
- Risk / failure condition
- One delivery does not finish the finale and leaves the second vehicle exposed.
- How to recover the run
- Hold the zone, cover the delayed vehicle and finish only after both confirmations.
Common mistakes
Warehouse defence gap
- Consequence
- An abandoned sector lets a wave enter the warehouse and damage the stock.
- Correction
- Return to inner cover, call the open sector and move the nearest player to close it.
Chaotic vehicle transition
- Consequence
- One vehicle leaving early strands the other without a gunner or warehouse cover.
- Correction
- Hold the first vehicle behind nearby cover, fill every seat and start the route only as a complete four.
Broken convoy
- Consequence
- Too large a gap sends every wave onto the unprotected transport and can destroy the delivery.
- Correction
- The Technical slows on a safe straight, the gunner clears the tail and both vehicles resume together.
Pre-launch checklist
Four warehouse sectors and the vehicle-transition call are set.
The Technical driver and gunner keep the second transport in view.
Assign four sectors and do not chase one enemy beyond the stock line.
After the final wave, the lead calls a synchronized move into the Technical and second transport.
The Technical keeps enough spacing for the gunner to see both pursuit and the second vehicle.
03
Expanded informational overview
Guide scopeThis section organizes the complete cycle: requirements, phases, figures and dependencies. The detailed operation flow is in the walkthrough above.
04
How the full cycle works
This section complements the walkthrough with full-cycle dependencies: unlock, preparations, finale, settlement and the next available attempt.
Unlock
Base requirement: High-end apartment. Minimum entry cost is kept separate from the setup fee.
Plan configuration
Available approach, target, difficulty and team choices determine later costs and payout distribution.
Preparations
The model's full time includes required preparation; optional items trade extra time for a safer run.
Finale
The result depends on target or pool value, participant count, possible losses and bonus conditions.
Settlement and replay
After deductions, the pool is distributed using the payout model. Group heists have a 48 min wait after the finale.
05
What affects the result
The min–typical–max range accounts for a variable target, loot or difficulty where applicable.
The setup fee is deducted before the net result is calculated.
Player count and NPC crew fees can change the host and each partner's payout.
The model compares 1 hr 20 min / 1 hr 50 min / 2 hrs 50 min, not the finale alone.
Main strengths
- High payout per completed cycle.
- Clear split between preparation, finale and settlement.
Constraints
- Entry and setup costs reduce the first return.
- The result depends on team size, cuts and cooldown.
06
Solo / Duo / Trio / Quatro variants
Every supported team size shows its host, partner and team model. Provisional rates are clearly labelled, and incomplete data is explained alongside the result.
Quatro: the default ranking model is 55% for the host and 15% for every partner; the guide lets you set individual cuts, while the setup cost is deducted only from the host.
- Host / owner
- $363,850
- Each partner
- $106,050
- Team net
- $682,000
- Cooldown
- 48 min
07
Complete figures by team
Typical values for the selected cycle; every cell also contains a min–max range.
| Team | Cooldown | Team gross | Costs + fees | Host / owner | Each partner | Team net | Host / owner $/h | Team $/h |
|---|---|---|---|---|---|---|---|---|
| QUATRO | 48 minCooldown | $707,000min: $707,000 · typical: $707,000 · max: $707,000 | $25,000min: $25,000 · typical: $25,000 · max: $25,000 | $363,850min: $363,850 · typical: $363,850 · max: $363,850 | $106,050min: $106,050 · typical: $106,050 · max: $106,050 | $682,000min: $682,000 · typical: $682,000 · max: $682,000 | $198,464min: $198,464 · typical: $198,464 · max: $198,464 | $372,000min: $372,000 · typical: $372,000 · max: $372,000 |
CALCULATOR
Custom scenario calculator
Enter your own pool, costs and fees, then set every player's cut.
ADJUSTABLE CUT
Manual finale split
Set every player's cut. The minimum is 15%, adjustments use 5% steps, and the total always remains 100%.
Cut total100%
08
Key facts
VIDEO
Video walkthrough
Verified video · EN
GTA Online - Series A Funding Heist Guide!
All setups and finale.
- Channel
- Tylarious
- Published
- 16 Apr 2025
- Checked
- 29 Aug 2026