Contract • Solo / Duo / Trio / Quatro
The Fine Art File
Prepare EMP charges, a helicopter and a facial scan, enter Maze Bank West from the roof and recover the artwork from a hidden penthouse room.
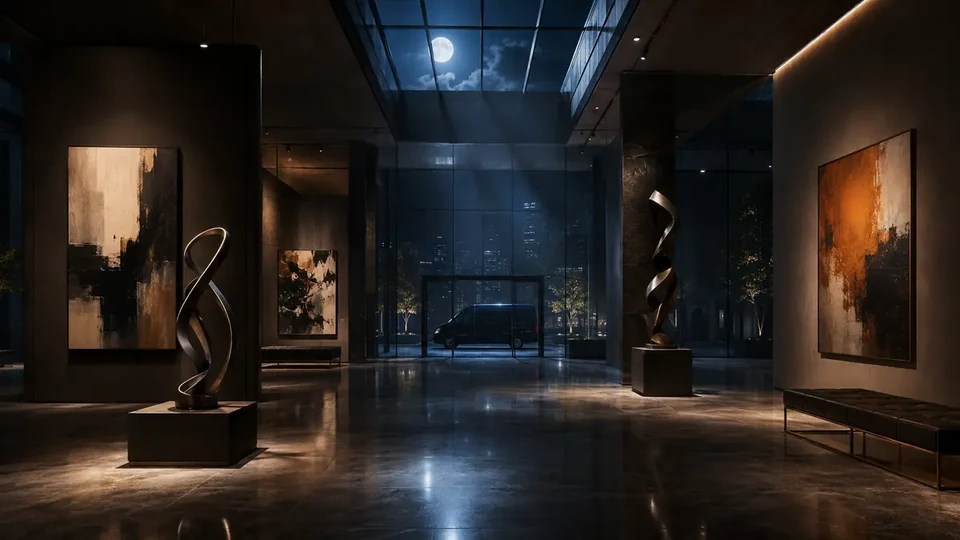 FINE / ART / FILE
01
Complete financial model
Rotation-dependent • no single fixed minute valueThere is no single confirmed minute value; availability depends on a board, phone call or contract rotation.
Verified permanent rules
Priority File
- One board entry is the weekly Priority File, and its increased payout is available once before the reset.
- The permanent Priority multiplier is ×2; the Challenge worth up to $50,000 is a separate condition and is not part of the multiplier.
- Priority File is not a GTA+ benefit; the current weekly file is not hard-coded into the guide.
- No official partner rate is published: detailed walkthroughs for all four Files indicate $25,000 for the finale; the Challenge worth up to $50,000 is settled separately (confidence B).
| Payout target | Base payout | Priority ×2 |
|---|---|---|
| Fine Art File | $153,000 | $306,000 |
host and every partner have a separately defined payout
02
Complete step-by-step operation
OPERATIONS GUIDE V2 • SOLO
Prepare EMP charges, a helicopter and a facial scan, enter Maze Bank West from the roof and recover the artwork from a hidden penthouse room.
Start here
- Buy the Darnell Bros Garment Factory through Maze Bank Foreclosures and complete the FIB Files introduction.
Select “The Fine Art File — complete flow” on the Factory office computer when the file is available.
The operations office inside the Darnell Bros Garment Factory.
The FIB Files computer with three preparations and a finale.
- Other Factory facilities and personal vehicles are not prerequisites for launching a selected file.
First run and replay
These are two persistent story instructions. They are not the finance calculator's weekly-variant switch.
First story playthrough
The first “The Fine Art File — complete flow” selection runs through the three preparations on the Factory computer before unlocking the file finale.
Story replay
Select a replay from the computer when the file is available; repeat its preparations while keeping payouts in the separate finance panel.
Official mission order
- 01
prep / preparation EMP Charges
Prepare the charges used to trigger the penthouse blackout.
- 02
prep / preparation Approach Vehicle
Acquire the rooftop approach vehicle.
- 03
prep / preparation Facial Recognition
Acquire the data needed to pass the biometric security.
- 04
finale The Fine Art File
Trigger the blackout, breach the penthouse and deliver the recovered art from the garage.
Strategies that genuinely change the route
Rooftop, blackout and secret room
- When
- After acquiring EMP charges, the approach helicopter and Ray Trotman's scan.
- Plan
- Land outside guard vision, plant EMP in the service room, use night vision after blackout and pass the hatch, hidden switch and biometrics to the art.
- Trade-off
- The EMP disables alarms, not guards; the quiet plan still depends on sight lines and a shared exit route.
Plan for the selected team: SOLO
Selected in the calculator • SOLO for “The Fine Art File — complete flow”: SOLO operator: Approach pilot + EMP installer + Switch and biometric operator + Art collector and driver.
Concrete roles
Lands on the roof outside guard cones and provides a clean drop. Hacks the service door, plants charges and calls the blackout at the agreed time. Finds the hidden switch and opens the secret room with the scan. Collects marked art, watches the gas and drives out from the garage.
Actions, risk and run recovery
- 01
prep / preparationEMP Charges - Action
- Clear the guarded site, lower the green container using the switch or lock, take the EMP charges and return them to the Factory.
- Tip
- Acquire every EMP Charge and assign them to one blackout operator.
- Risk / failure condition
- A missing charge leaves part of the penthouse powered.
- How to recover the run
- Return to the uncollected crate, take the full set and confirm the prep on the computer.
- 02
prep / preparationApproach Vehicle - Action
- Infiltrate the LSIA hangar, steal an untraceable helicopter and stash it as the rooftop approach vehicle.
- Tip
- Choose an Approach Vehicle for the full crew and keep the driver through the rooftop arrival.
- Risk / failure condition
- Split vehicles trigger entry without part of the crew.
- How to recover the run
- Regroup everyone in the prepared vehicle and retry on one route.
- 03
prep / preparationFacial Recognition - Action
- Take the drone from the Felon's trunk, deploy it from the vantage point, locate Ray Trotman and complete the facial scan.
- Tip
- One player completes Facial Recognition with a clear target frame and system confirmation.
- Risk / failure condition
- A wrong profile does not open the security route to the art.
- How to recover the run
- Adjust angle, rescan the correct face and wait for the success message.
- 04
finaleRooftop landing - Action
- In the finale, fly the prepared helicopter to Maze Bank West and land on the roof while avoiding guard vision cones.
- Tip
- Land outside security sight and deploy the full crew before moving to the service room.
- Risk / failure condition
- A loud landing or left-behind player starts combat before the blackout.
- How to recover the run
- Break away, make a second approach and regroup at a covered rooftop point.
- 05
finaleService room - Action
- Hack the service-door keypad, sneak into the service room and plant EMP charges on the electrical units.
- Tip
- Secure the service room before placing the EMP and keep one player on the retreat route.
- Risk / failure condition
- Planting under fire can interrupt the interaction and trap the operator.
- How to recover the run
- Leave the panel, clear the door and retry after cover confirms.
- 06
finaleBlackout - Action
- Reach the correct floor, detonate the EMP and use night vision; the alarms are down but guards still patrol inside.
- Tip
- Trigger the blackout only after players are staged at the hatch and art route.
- Risk / failure condition
- An early blackout spends the limited window on approach rather than the objective.
- How to recover the run
- Reload before activation or regroup and take the shortest route to the nearest entry.
- 07
finalePenthouse hatch - Action
- Locate the elevator hatch and enter the penthouse, remaining undetected if pursuing the bonus challenge.
- Tip
- At the penthouse hatch the operator opens it while cover controls roof and stairs.
- Risk / failure condition
- Putting everyone at the hatch leaves the outer flank unwatched.
- How to recover the run
- One player returns to the flank, the operator finishes and the crew descends on the call.
- 08
finaleHidden switch - Action
- Find the switch that opens the secret room, then use the biometric scan and bypass its control panel.
- Tip
- Search for the hidden switch in the indicated room without opening unnecessary zones.
- Risk / failure condition
- Wandering splits the team and wastes blackout time under more fire.
- How to recover the run
- Return to the last confirmed room, check surfaces in order and call the switch.
- 09
finaleArtwork and cabinets - Action
- Take the marked artwork and optional cabinet contents, remembering that the room becomes hazardous with gas after the theft.
- Tip
- Split artwork and cabinets among players and collect only assigned markers.
- Risk / failure condition
- Doubling cabinets leaves an artwork out of reach before the window ends.
- How to recover the run
- Stop doubling one marker, reassign remaining targets and regroup at the exit.
- 10
finaleGarage and delivery - Action
- Retreat to the elevator, clear the garage, steal a car, escape the building and deliver the artwork to the buyer.
- Tip
- In the garage one driver takes the objective while the crew opens the delivery route.
- Risk / failure condition
- A solo departure exposes the vehicle to a roadblock before leaving the property.
- How to recover the run
- Pull the car behind cover, clear the central block and leave under shared protection.
Common mistakes
Helicopter in a guard cone
- Consequence
- Detection on the roof starts the alarm before EMP and removes the main benefit of the prepared entry.
- Correction
- Fly away from the building, line up a new approach and drop the crew only after the patrol cone clears.
Blackout before the crew is ready
- Consequence
- An early blackout wastes the window while remaining guards still patrol dark corridors.
- Correction
- Hold in a safe room, enable night vision, regroup and take the shortest route to the hatch.
Over-searching after gas release
- Consequence
- Staying in the secret room exposes the whole crew and delays the garage route.
- Correction
- Abandon the last cabinet, return to the elevator as a group, clear the garage and take the first safe car.
Pre-launch checklist
The pilot knows the rooftop point and the EMP installer knows blackout timing and hatch route.
The primary artwork takes priority over cabinets once gas appears.
Approach from the side with a clear pad and do not land until the pilot sees a safe point.
Detonate EMP only when everyone is on the correct floor with night vision and knows the hatch route.
The primary collector takes marked art and optional cabinets stop as soon as gas appears.
03
Expanded informational overview
Guide scopeThis section organizes the complete cycle: requirements, phases, figures and dependencies. The detailed operation flow is in the walkthrough above.
04
How the full cycle works
This section complements the walkthrough with full-cycle dependencies: unlock, preparations, finale, settlement and the next available attempt.
Unlock
Requirement: Garment Factory.
Contract selection
Availability may depend on a board, phone call or activity rotation.
Preparation
The model includes required stages before the final settlement.
Completion
Team choice affects pace, host payout and each partner's payout.
Replay or rotation
There is no single confirmed minute value; availability depends on a board, phone call or contract rotation.
05
What affects the result
Payout and time cover the complete cycle, not only its final job.
The host and every participant have separately defined payouts; the team average does not replace those values.
Setup fees and commissions are deducted before the net result.
Fast/typical/beginner: 35 min / 52 min / 1 hr 20 min.
Main strengths
- Lower entry cost than major heists.
- Flexible supported team size.
Constraints
- Some contracts depend on board rotation.
- A partner may receive a different payout from the host.
06
Solo / Duo / Trio / Quatro variants
Every supported team size shows its host, partner and team model. Provisional rates are clearly labelled, and incomplete data is explained alongside the result.
Solo: full pace control and no crew wait.
- Host / owner
- $153,000
- Team net
- $153,000
- Rotation
- Rotation-dependentno single fixed minute value
Duo: the host and 1 partner have separate payouts.
- Host / owner
- $153,000
- Each partner
- $25,000No official partner rate is published — detailed walkthroughs for all four Files consistently report $25,000; the Challenge worth up to $50,000 remains separate (confidence B).
- Team net
- $178,000
- Rotation
- Rotation-dependentno single fixed minute value
Trio: the host and 2 partners have separate payouts.
- Host / owner
- $153,000
- Each partner
- $25,000No official partner rate is published — detailed walkthroughs for all four Files consistently report $25,000; the Challenge worth up to $50,000 remains separate (confidence B).
- Team net
- $203,000
- Rotation
- Rotation-dependentno single fixed minute value
Quatro: the host and 3 partners have separate payouts.
- Host / owner
- $153,000
- Each partner
- $25,000No official partner rate is published — detailed walkthroughs for all four Files consistently report $25,000; the Challenge worth up to $50,000 remains separate (confidence B).
- Team net
- $228,000
- Rotation
- Rotation-dependentno single fixed minute value
07
Complete figures by team
Typical values for the selected cycle; every cell also contains a min–max range.
| Team | Cooldown | Team gross | Costs + fees | Host / owner | Each partner | Team net | Host / owner $/h | Team $/h |
|---|---|---|---|---|---|---|---|---|
| SOLO | Rotation-dependentRotation • no single fixed minute value | $153,000min: $153,000 · typical: $153,000 · max: $153,000 | $0min: $0 · typical: $0 · max: $0 | $153,000min: $153,000 · typical: $153,000 · max: $153,000 | — | $153,000min: $153,000 · typical: $153,000 · max: $153,000 | $176,538min: $176,538 · typical: $176,538 · max: $176,538 | $176,538min: $176,538 · typical: $176,538 · max: $176,538 |
| DUO | Rotation-dependentRotation • no single fixed minute value | $178,000min: $178,000 · typical: $178,000 · max: $178,000 | $0min: $0 · typical: $0 · max: $0 | $153,000min: $153,000 · typical: $153,000 · max: $153,000 | $25,000min: $25,000 · typical: $25,000 · max: $25,000 | $178,000min: $178,000 · typical: $178,000 · max: $178,000 | $176,538min: $176,538 · typical: $176,538 · max: $176,538 | $205,385min: $205,385 · typical: $205,385 · max: $205,385 |
| TRIO | Rotation-dependentRotation • no single fixed minute value | $203,000min: $203,000 · typical: $203,000 · max: $203,000 | $0min: $0 · typical: $0 · max: $0 | $153,000min: $153,000 · typical: $153,000 · max: $153,000 | $25,000min: $25,000 · typical: $25,000 · max: $25,000 | $203,000min: $203,000 · typical: $203,000 · max: $203,000 | $176,538min: $176,538 · typical: $176,538 · max: $176,538 | $234,231min: $234,231 · typical: $234,231 · max: $234,231 |
| QUATRO | Rotation-dependentRotation • no single fixed minute value | $228,000min: $228,000 · typical: $228,000 · max: $228,000 | $0min: $0 · typical: $0 · max: $0 | $153,000min: $153,000 · typical: $153,000 · max: $153,000 | $25,000min: $25,000 · typical: $25,000 · max: $25,000 | $228,000min: $228,000 · typical: $228,000 · max: $228,000 | $176,538min: $176,538 · typical: $176,538 · max: $176,538 | $263,077min: $263,077 · typical: $263,077 · max: $263,077 |
08
Key facts
VIDEO
Video walkthrough
Verified video · EN
The Fine Art File SOLO Money Guide For GTA Online!
Complete solo File walkthrough.
- Channel
- Tylarious
- Published
- 28 Jun 2026
- Checked
- 29 Aug 2026