Contract • Solo / Duo / Trio / Quatro
The ECU Job
Identify the containers, secure the schedule and cutting saw, stop the military train and recover two engine control units.
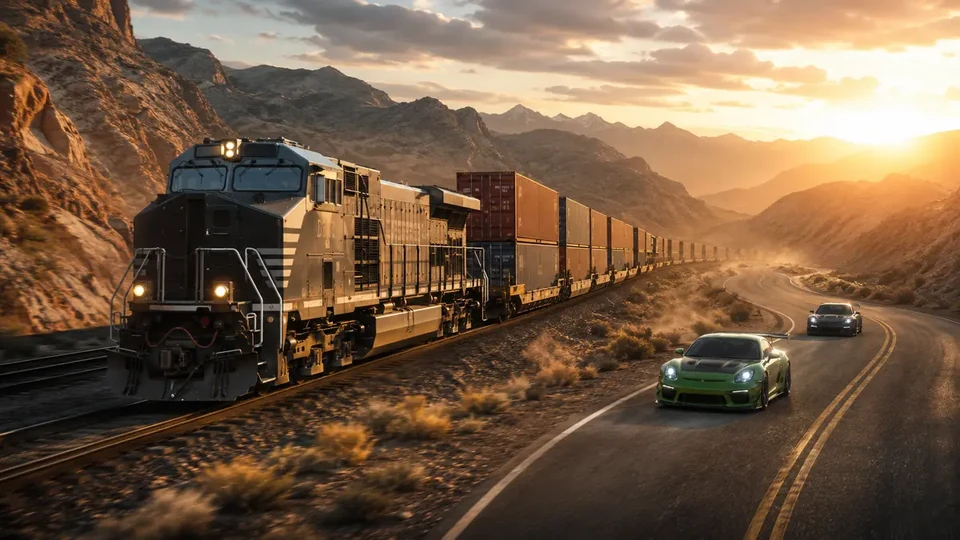 ECU / JOB
01
Complete financial model
Rotation-dependent • no single fixed minute valueThere is no single confirmed minute value; availability depends on a board, phone call or contract rotation.
host and every partner have a separately defined payout
02
Complete step-by-step operation
OPERATIONS GUIDE V2 • SOLO
Identify the containers, secure the schedule and cutting saw, stop the military train and recover two engine control units.
Start here
- Buy an Auto Shop through Maze Bank Foreclosures and complete its setup mission.
Use the upstairs Job Board and select “The E.C.U Job — complete flow” when the contract is available.
The upper floor of your Auto Shop.
Sessanta and KDJ's Job Board: two Planning Works and the Final Job.
- A second lift, staff, personal quarters and cosmetic Auto Shop upgrades are not required for contracts.
First run and replay
These are two persistent story instructions. They are not the finance calculator's weekly-variant switch.
First story playthrough
On the first “The E.C.U Job — complete flow” selection, complete both Planning Works shown on the Job Board before launching the Final Job.
Story replay
After completion, wait for the contract to return to the rotating Job Board; every new attempt requires its two Planning Works.
Official mission order
- 01
prep / preparation Planning Work: Train Inventory
Acquire the manifest and cutting saw for the marked containers.
- 02
prep / preparation Planning Work: Schedule
Obtain the schedule used to choose the interception point.
- 03
finale The Robbery
Stop the train, open the correct containers and deliver both ECUs.
Strategies that genuinely change the route
Stop the train, open only target containers
- When
- After photographing container codes, taking the saw and acquiring the schedule.
- Plan
- Destroy four brake cylinders, follow the slowing train, match the message codes and cut only the two correct containers.
- Trade-off
- Accurate container codes save time under fire; taking the first ECU adds more pressure.
Plan for the selected team: SOLO
Selected in the calculator • SOLO for “The E.C.U Job — complete flow”: SOLO operator: Brake-cylinder shooter + Train-chase driver + Code reader and saw operator + ECU cover.
Concrete roles
Destroys four cylinders on both sides of the locomotive. Keeps the vehicle alongside the locomotive and later the containers. Matches Sessanta's message and opens only marked containers. Takes one unit or protects the second after reinforcements increase.
Actions, risk and run recovery
- 01
prep / preparationTrain Inventory — boarding - Action
- Board the cargo ship at Terminal or Elysian Island and locate the rail-shipment manifest.
- Tip
- On the ship first locate and photograph the manifest for the correct containers.
- Risk / failure condition
- Without a readable manifest the finale lacks ECU container identification.
- How to recover the run
- Return aft, frame the full document and wait for Sessanta's confirmation.
- 02
prep / preparationTrain Inventory — equipment - Action
- Record the target container codes, take the cutting saw needed to open them and deliver it to the Auto Shop.
- Tip
- Before leaving the ship collect the industrial cutting saw from the marked forward area.
- Risk / failure condition
- Leaving without the saw blocks opening the finale containers.
- How to recover the run
- Return to the forward deck, take the tool and only then deliver it to the Auto Shop.
- 03
prep / preparationSchedule - Action
- Locate the train near the power station or quarry, photograph it, steal the transport schedule and return the document to the Auto Shop.
- Tip
- In Schedule photograph the train and cylinder, then take the timetable from the control tower.
- Risk / failure condition
- A missed step does not reveal the intercept point or stopping method.
- How to recover the run
- Return to the missing marker, send the photo and only then enter the tower.
- 04
finaleInterception point - Action
- In the finale, reach the Grand Senora Desert interception point and prepare a clear line of fire on the locomotive.
- Tip
- At the interception point place players on both sides of the track before the train arrives.
- Risk / failure condition
- Late positioning leaves cylinders outside a safe firing angle.
- How to recover the run
- Do not chase immediately; reach the next predicted section and set up again.
- 05
finaleBrake cylinders - Action
- Destroy the four brake cylinders on both sides of the power unit while fighting Merryweather and the escorting Annihilator Stealth.
- Tip
- Gunners split the brake cylinders and confirm each destroyed component.
- Risk / failure condition
- Doubling one cylinder lets the train keep speed.
- How to recover the run
- Reassign remaining markers and focus fire on the missed cylinder.
- 06
finaleStopping the train - Action
- Follow the slowing train and move alongside the containers once it stops in the desert.
- Tip
- After damaging the brakes keep the vehicle parallel until the train stops in an accessible area.
- Risk / failure condition
- Leaving the train loses the boarding point and extends pursuit.
- How to recover the run
- Return to the parallel road, reacquire the train and board after it fully stops.
- 07
finaleTarget containers - Action
- Match the registration codes in Sessanta's message and use the cutting saw only on the marked containers.
- Tip
- Match container numbers to the manifest before using the saw.
- Risk / failure condition
- Opening the wrong container wastes time under fire.
- How to recover the run
- Stop cutting, read the marking and move to the correct car.
- 08
finaleTwo ECUs - Action
- Collect both control units from the opened containers; expect additional helicopters and vehicles after taking the first one.
- Tip
- Split the two ECUs between two players or use one protected route to the vehicle.
- Risk / failure condition
- A missed module blocks delivery despite recovering the first.
- How to recover the run
- Return to the second open container, take the module and regroup at the vehicle.
- 09
finaleDelivery - Action
- Leave the rail line, survive the Merryweather pursuit and deliver both ECUs to KDJ at the city drop-off.
- Tip
- Drive both ECUs to KDJ in the same protected transport and do not split them en route.
- Risk / failure condition
- Losing one carrier stops the full contract handoff.
- How to recover the run
- Stop outside fire, collect the second player and resume on one route.
Common mistakes
Unreadable container codes
- Consequence
- Opening the wrong container wastes time while Merryweather and the Annihilator already pressure the crew.
- Correction
- Stop cutting, cover the operator, reread the message and move to the exact matching number.
Brake cylinders without driver support
- Consequence
- Chaotic overtaking exposes the vehicle to the Annihilator and leaves a cylinder behind.
- Correction
- Drop behind the locomotive, remove the escort, match speed again and finish the missing side.
Both ECUs moved without cover
- Consequence
- Additional helicopters and vehicles can isolate the second operator and both units.
- Correction
- Stop chasing distant targets, regroup both ECUs at the vehicle and leave the rail line in one direction.
Pre-launch checklist
Both container codes, the saw and schedule are confirmed before the finale.
Driver and shooter have a plan for four cylinders and two ECU pickups.
On the ship, record both codes and deliver the saw; compare them with the message before cutting.
The driver matches speed and the shooter changes side only after two hits are confirmed.
After the first unit, one player covers the second container while the driver keeps a route off the tracks.
03
Expanded informational overview
Guide scopeThis section organizes the complete cycle: requirements, phases, figures and dependencies. The detailed operation flow is in the walkthrough above.
04
How the full cycle works
This section complements the walkthrough with full-cycle dependencies: unlock, preparations, finale, settlement and the next available attempt.
Unlock
Requirement: Auto Shop.
Contract selection
Availability may depend on a board, phone call or activity rotation.
Preparation
The model includes required stages before the final settlement.
Completion
Team choice affects pace, host payout and each partner's payout.
Replay or rotation
There is no single confirmed minute value; availability depends on a board, phone call or contract rotation.
05
What affects the result
Payout and time cover the complete cycle, not only its final job.
The host and every participant have separately defined payouts; the team average does not replace those values.
Setup fees and commissions are deducted before the net result.
Fast/typical/beginner: 28 min / 42 min / 1 hr 8 min.
Main strengths
- Lower entry cost than major heists.
- Flexible supported team size.
Constraints
- Some contracts depend on board rotation.
- A partner may receive a different payout from the host.
06
Solo / Duo / Trio / Quatro variants
Every supported team size shows its host, partner and team model. Provisional rates are clearly labelled, and incomplete data is explained alongside the result.
Solo: full pace control and no crew wait.
- Host / owner
- $172,000
- Team net
- $172,000
- Rotation
- Rotation-dependentno single fixed minute value
Duo: the host and 1 partner have separate payouts.
- Host / owner
- $172,000
- Each partner
- $50,000
- Team net
- $222,000
- Rotation
- Rotation-dependentno single fixed minute value
Trio: the host and 2 partners have separate payouts.
- Host / owner
- $172,000
- Each partner
- $50,000
- Team net
- $272,000
- Rotation
- Rotation-dependentno single fixed minute value
Quatro: the host and 3 partners have separate payouts.
- Host / owner
- $172,000
- Each partner
- $50,000
- Team net
- $322,000
- Rotation
- Rotation-dependentno single fixed minute value
07
Complete figures by team
Typical values for the selected cycle; every cell also contains a min–max range.
| Team | Cooldown | Team gross | Costs + fees | Host / owner | Each partner | Team net | Host / owner $/h | Team $/h |
|---|---|---|---|---|---|---|---|---|
| SOLO | Rotation-dependentRotation • no single fixed minute value | $172,000min: $172,000 · typical: $172,000 · max: $172,000 | $0min: $0 · typical: $0 · max: $0 | $172,000min: $172,000 · typical: $172,000 · max: $172,000 | — | $172,000min: $172,000 · typical: $172,000 · max: $172,000 | $245,714min: $245,714 · typical: $245,714 · max: $245,714 | $245,714min: $245,714 · typical: $245,714 · max: $245,714 |
| DUO | Rotation-dependentRotation • no single fixed minute value | $222,000min: $222,000 · typical: $222,000 · max: $222,000 | $0min: $0 · typical: $0 · max: $0 | $172,000min: $172,000 · typical: $172,000 · max: $172,000 | $50,000min: $50,000 · typical: $50,000 · max: $50,000 | $222,000min: $222,000 · typical: $222,000 · max: $222,000 | $245,714min: $245,714 · typical: $245,714 · max: $245,714 | $317,143min: $317,143 · typical: $317,143 · max: $317,143 |
| TRIO | Rotation-dependentRotation • no single fixed minute value | $272,000min: $272,000 · typical: $272,000 · max: $272,000 | $0min: $0 · typical: $0 · max: $0 | $172,000min: $172,000 · typical: $172,000 · max: $172,000 | $50,000min: $50,000 · typical: $50,000 · max: $50,000 | $272,000min: $272,000 · typical: $272,000 · max: $272,000 | $245,714min: $245,714 · typical: $245,714 · max: $245,714 | $388,571min: $388,571 · typical: $388,571 · max: $388,571 |
| QUATRO | Rotation-dependentRotation • no single fixed minute value | $322,000min: $322,000 · typical: $322,000 · max: $322,000 | $0min: $0 · typical: $0 · max: $0 | $172,000min: $172,000 · typical: $172,000 · max: $172,000 | $50,000min: $50,000 · typical: $50,000 · max: $50,000 | $322,000min: $322,000 · typical: $322,000 · max: $322,000 | $245,714min: $245,714 · typical: $245,714 · max: $245,714 | $460,000min: $460,000 · typical: $460,000 · max: $460,000 |
08
Key facts
VIDEO
Video walkthrough
Verified video · EN
The ECU Job SOLO Guide | GTA 5 Online Los Santos Tuners DLC
Train Inventory, Schedule and finale; mechanics only.
- Channel
- Gtamen
- Published
- 21 Jul 2021
- Checked
- 29 Aug 2026