Mission strand • Solo / Co-op
The Cluckin’ Bell Farm Raid
Complete Vincent's five setup jobs, prepare a chosen weapon set and vehicle, then clear the factory and deliver the recovered shipment.
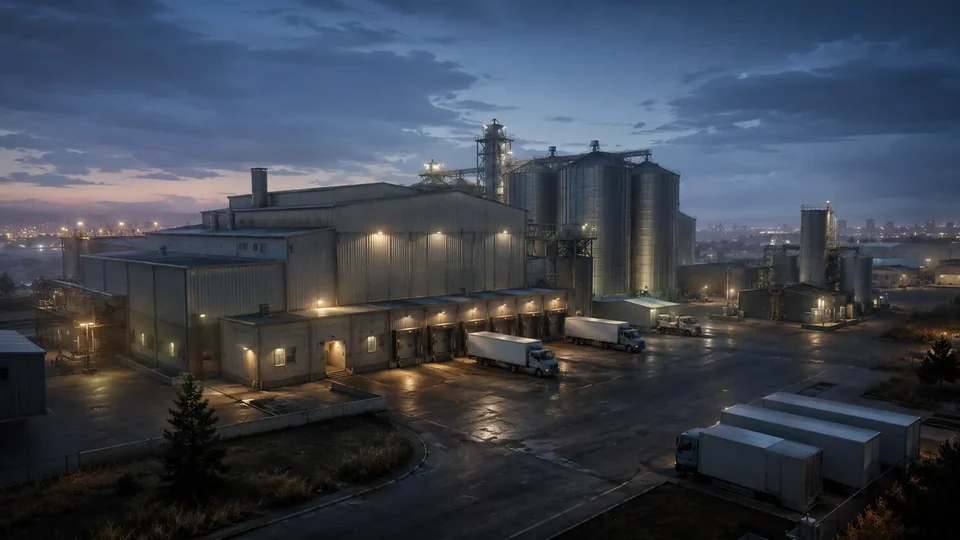 CLUCKIN / BELL
01
Complete financial model
Partner: $50,000 per finale — provisional rate, to be confirmed in-game; currently the same in both cycles.
1 hrThe next cycle becomes available 1 hr after completion.
solo: the host receives the full fixed payout; no partner payout applies
02
Complete step-by-step operation
OPERATIONS GUIDE V2 • SOLO
Complete Vincent's five setup jobs, prepare a chosen weapon set and vehicle, then clear the factory and deliver the recovered shipment.
Start here
- No property purchase is required. Take Vincent's contact and use the V marker at the Vespucci station to begin the strand.
Launch Vincent's next job from the active V marker; the finale follows the five preparations.
Vincent's marker at Vespucci Police Station.
Vincent's contact strand — no separate planning board or property cost.
- No owned property, weaponized vehicle or paid upgrade is required; the preparation jobs supply finale equipment.
First run and replay
These are two persistent story instructions. They are not the finance calculator's weekly-variant switch.
First story playthrough
The first “The Cluckin' Bell Farm Raid — complete flow” run includes the introductory contact and the complete linear mission strand in marker order.
Story replay
After completion, relaunch the strand from its contact or marker once available; do not skip its required sequence.
Official mission order
- 01
prep / preparation Slush Fund
Raid the laundromats and collect the money funding Vincent's operation.
- 02
prep / preparation Breaking and Entering
Acquire the laptop and device needed to breach the cartel systems.
- 03
prep / preparation Concealed Weapons
Choose and acquire one weapon set for the finale.
- 04
prep / preparation Hit and Run
Choose and stash the getaway vehicle.
- 05
prep / preparation Disorganized Crime
Hack the warehouse, obtain the keycard and commit to a silent or loud entry.
- 06
finale Scene of the Crime
Enter the factory, empty the cartel safe and escape in the prepared vehicle.
Strategies that genuinely change the route
Finale built from acquired gear
- When
- After inspecting all three weapon stashes and all three vehicle groups.
- Plan
- Choose the loadout and car deliberately, destroy cartel support in Disorganized Crime and preserve stealth in the factory as long as the prepared entry allows.
- Trade-off
- A better gear choice eases the finale; taking the first option locks the choice unless the preparation is repeated.
Plan for the selected team: SOLO
Selected in the calculator • SOLO for “The Cluckin' Bell Farm Raid — complete flow”: SOLO operator: Loadout lead + Train and laptop hacker + Getaway driver + Storage operator.
Concrete roles
Compares the three stashes and confirms the set that becomes the finale loadout. Handles the laptop, hacking device and security laptops in Disorganized Crime. Selects, stashes and preserves the prepared vehicle from Hit and Run through delivery. Uses the keycard, searches crates, hacks the office and retrieves the safe code.
Actions, risk and run recovery
- 01
unlockContact Vincent - Action
- After Vincent calls, meet him at Vespucci Police Station. The operation requires no property purchase and supports solo play or a crew of up to four.
- Tip
- Take Vincent's contact and start only from the active V marker at Vespucci.
- Risk / failure condition
- Launching an unrelated Job does not advance the raid strand.
- How to recover the run
- Return to Freemode, wait for the active contact and use the marked V.
- 02
prep / preparationSlush Fund - Action
- Visit both marked laundering businesses, steal the counterfeit cash from the guarded interiors and deliver the full package to Vincent's lockup.
- Tip
- In Slush Fund collect every marked stash and stage the vehicle on the exit route.
- Risk / failure condition
- A missed package or destroyed transport blocks the setup fund.
- How to recover the run
- Return to the final active marker, collect the missing item and leave by the shortest route.
- 03
prep / preparationBreaking and Entering - Action
- Acquire the laptop and hacking device, then use them to take control of the freight train Vincent needs for the factory-entry plan.
- Tip
- In Breaking and Entering split the breach from cover and collect every required equipment item.
- Risk / failure condition
- A missing device leaves a later prep or the finale without its entry tool.
- How to recover the run
- Do not leave; check the remaining marker and deliver the complete set to Vincent.
- 04
prep / preparationConcealed Weapons - Action
- Inspect the three gang hideouts and choose one weapon-and-gear set. The recovered option becomes the finale loadout, so the choice is part of the plan rather than optional loot.
- Tip
- In Concealed Weapons inspect the available sets and complete the chosen weapon package.
- Risk / failure condition
- Stopping after selection leaves the finale without its assigned weapons and armor.
- How to recover the run
- Return to the chosen package source, recover the crate and confirm delivery.
- 05
prep / preparationHit and Run - Action
- Inspect the three vehicle groups, steal the chosen getaway car, lose the pursuit and stash it in one of the marked garages for the finale.
- Tip
- In Hit and Run secure the getaway vehicle without excessive damage.
- Risk / failure condition
- A destroyed vehicle removes the selected finale escape option.
- How to recover the run
- Draw pursuers away from the car, clear the nearest sector and finish delivery safely.
- 06
prep / preparationDisorganized Crime - Action
- Attack the cartel's support operation, destroy the marked trucks and hack the laptops to identify factory security. Recover the target-storage keycard before leaving.
- Tip
- In Disorganized Crime destroy the supplies and secure the intel needed for the factory.
- Risk / failure condition
- A surviving objective preserves security or hides part of the finale route.
- How to recover the run
- Return for the final marker, finish the sabotage and leave only after full confirmation.
- 07
finaleFinale choices - Action
- Before Scene of the Crime, confirm the acquired loadout and vehicle. The entry method follows the preparations; preserving stealth reduces resistance before the storage rooms are opened.
- Tip
- On the finale screen select one prepared weapon, vehicle and approach as a coherent package.
- Risk / failure condition
- Mixing plans leaves the crew unsure of entry and pickup points.
- How to recover the run
- Revise the selection, name the route and assign roles before confirming.
- 08
finaleFactory storage - Action
- Enter Cluckin' Bell, use the keycard on the first storage area and collect the marked packages. In the second room, search the crates until the remaining shipment is found.
- Tip
- In factory storage clear one side at a time and stay with the objective operator.
- Risk / failure condition
- Splitting among aisles lets security surround the objective player.
- How to recover the run
- Return to the last cleared aisle, regroup and resume as one front.
- 09
finaleOffice and safe - Action
- Reach the office, hack the computer and use the hacking device to locate the safe code, then collect the additional contents.
- Tip
- In the office one player opens the safe while the crew holds doors and stairs.
- Risk / failure condition
- An interrupted safe leaves the objective unsecured during the next wave.
- How to recover the run
- Close the nearest entrance, return to the interaction and finish it before moving.
- 10
finaleEscape - Action
- Leave the factory, reach the previously stashed vehicle and deliver the recovered shipment to Vincent's lockup without losing the car during the pursuit.
- Tip
- Use the prepared vehicle and keep the full crew on one route out of Paleto.
- Risk / failure condition
- Splitting or unnecessary combat exposes the objective to more roadblocks.
- How to recover the run
- Divert to a safe stretch, regroup and resume delivery as one convoy.
Common mistakes
Taking the first loadout
- Consequence
- A weak loadout or awkward car remains active in Scene of the Crime and complicates the factory and pursuit.
- Correction
- Replay Concealed Weapons or Hit and Run before the finale and stash the deliberate choice.
Missing storage keycard
- Consequence
- Without the card, the first factory storage area will not open on the prepared route.
- Correction
- Return to the final preparation marker, clear its nearest guards and collect the card before delivery.
Chaotic storage search
- Consequence
- Splitting across storage, office and exit exposes the package carrier and prepared vehicle.
- Correction
- Finish the current room search, regroup at the office and leave together for the stashed car.
Pre-launch checklist
The selected weapon set and vehicle are recorded as finale equipment.
The Disorganized Crime keycard and safe device have assigned operators.
Inspect all three stashes and vehicle groups before confirming the finale choice.
In Disorganized Crime, collect the storage keycard after the laptops before leaving.
One player opens storage while the others divide marked crates and regroup before the office.
03
Expanded informational overview
Guide scopeThis section organizes the complete cycle: requirements, phases, figures and dependencies. The detailed operation flow is in the walkthrough above.
04
How the full cycle works
This section complements the walkthrough with full-cycle dependencies: unlock, preparations, finale, settlement and the next available attempt.
Unlock
Requirement: None.
Contract selection
Availability may depend on a board, phone call or activity rotation.
Preparation
The model includes required stages before the final settlement.
Completion
Team choice affects pace, host payout and each partner's payout.
Replay or rotation
The next cycle becomes available 1 hr after completion.
05
What affects the result
Payout and time cover the complete cycle, not only its final job.
The host and every participant have separately defined payouts; the team average does not replace those values.
Setup fees and commissions are deducted before the net result.
Fast/typical/beginner: 45 min / 1 hr 5 min / 1 hr 40 min.
Main strengths
- Lower entry cost than major heists.
- Flexible supported team size.
Constraints
- Some contracts depend on board rotation.
- A partner may receive a different payout from the host.
06
Solo / Duo / Trio / Quatro variants
Every supported team size shows its host, partner and team model. Provisional rates are clearly labelled, and incomplete data is explained alongside the result.
Solo: full pace control and no crew wait.
- Host / owner
- $400,000
- Team net
- $400,000
- Cooldown
- 1 hr
Duo: the host and 1 partner have separate payouts.
- Host / owner
- $400,000
- Each partner
- $50,000Partner: $50,000 per finale — provisional rate, to be confirmed in-game; currently the same in both cycles.
- Team net
- $450,000
- Cooldown
- 1 hr
Trio: the host and 2 partners have separate payouts.
- Host / owner
- $400,000
- Each partner
- $50,000Partner: $50,000 per finale — provisional rate, to be confirmed in-game; currently the same in both cycles.
- Team net
- $500,000
- Cooldown
- 1 hr
Quatro: the host and 3 partners have separate payouts.
- Host / owner
- $400,000
- Each partner
- $50,000Partner: $50,000 per finale — provisional rate, to be confirmed in-game; currently the same in both cycles.
- Team net
- $550,000
- Cooldown
- 1 hr
07
Complete figures by team
Typical values for the selected cycle; every cell also contains a min–max range.
| Team | Cooldown | Team gross | Costs + fees | Host / owner | Each partner | Team net | Host / owner $/h | Team $/h |
|---|---|---|---|---|---|---|---|---|
| SOLO | 1 hrCooldown | $400,000min: $400,000 · typical: $400,000 · max: $400,000 | $0min: $0 · typical: $0 · max: $0 | $400,000min: $400,000 · typical: $400,000 · max: $400,000 | — | $400,000min: $400,000 · typical: $400,000 · max: $400,000 | $369,231min: $369,231 · typical: $369,231 · max: $369,231 | $369,231min: $369,231 · typical: $369,231 · max: $369,231 |
| DUO | 1 hrCooldown | $450,000min: $450,000 · typical: $450,000 · max: $450,000 | $0min: $0 · typical: $0 · max: $0 | $400,000min: $400,000 · typical: $400,000 · max: $400,000 | $50,000min: $50,000 · typical: $50,000 · max: $50,000 | $450,000min: $450,000 · typical: $450,000 · max: $450,000 | $369,231min: $369,231 · typical: $369,231 · max: $369,231 | $415,385min: $415,385 · typical: $415,385 · max: $415,385 |
| TRIO | 1 hrCooldown | $500,000min: $500,000 · typical: $500,000 · max: $500,000 | $0min: $0 · typical: $0 · max: $0 | $400,000min: $400,000 · typical: $400,000 · max: $400,000 | $50,000min: $50,000 · typical: $50,000 · max: $50,000 | $500,000min: $500,000 · typical: $500,000 · max: $500,000 | $369,231min: $369,231 · typical: $369,231 · max: $369,231 | $461,538min: $461,538 · typical: $461,538 · max: $461,538 |
| QUATRO | 1 hrCooldown | $550,000min: $550,000 · typical: $550,000 · max: $550,000 | $0min: $0 · typical: $0 · max: $0 | $400,000min: $400,000 · typical: $400,000 · max: $400,000 | $50,000min: $50,000 · typical: $50,000 · max: $50,000 | $550,000min: $550,000 · typical: $550,000 · max: $550,000 | $369,231min: $369,231 · typical: $369,231 · max: $369,231 | $507,692min: $507,692 · typical: $507,692 · max: $507,692 |
08
Key facts
VIDEO
Video walkthrough
Verified video · EN
GTA Online Cluckin' Bell Farm Raid SOLO Money Guide - Step-By-Step Guide, Setup Tips + How to Start!
Start, five setups and finale.
- Channel
- TGG
- Published
- 8 Mar 2024
- Checked
- 29 Aug 2026