Daily Hit • Bail Office • Solo
Madrazo Hits
One personal assassination assignment per day for a Bail Office owner. Martin sends a target photo and specifies a weapon; the run closes only after the kill, photo evidence and losing the police.
 MADRAZO / HITS
Complete activity guide
Daily status and the conditional bonus are officially confirmed. The exact $20,000 + $10,000 and 500 RP come from convergent secondary sources (confidence B), not a temporary bonus.
Start here
Madrazo Hits
First buy a Bail Office through Maze Bank Foreclosures and complete its introduction. In Freemode find the purple Madrazo Hit icon; entering the marker triggers Martin's message with the target photo and preferred weapon.
Solo on every supported platform with an owned Bail Office. There is no start fee; this is neither a Most Wanted nor Standard Bounty and no target is selected at Jenette's computer.
Confirm the Bail Office introduction is complete and today's Hit has not already been settled. After the daily reset change session if the icon has not refreshed; do not look for it on the bounty board.
Requirement
Owned Bail Office + completed intro
Limit
1 personal Hit after the daily reset
Pool
15 target regions
01 • First completion, step by step
First completion, step by step
01 Launch the daily Hit
- ACTION
- Enter the purple marker and wait for Martin's message containing the portrait and preferred weapon.
- TIP
- Note or remember the weapon before opening the map; it controls the extra $10,000.
- RISK / FAILURE CONDITION
- Killing a random guard before identifying the target does not complete the assignment.
- HOW TO RECOVER THE RUN
- Compare the face with the photo and watch the correct marker in the yellow area rather than shooting the whole group.
02 Search the zone
- ACTION
- Drive to the yellow area, park with an escape route and identify the target among the guards.
- TIP
- Use cover and remove only guards blocking a clean shot with the requested weapon.
- RISK / FAILURE CONDITION
- Death or losing the target forces a relaunch if the kill was not saved.
- HOW TO RECOVER THE RUN
- Leave the zone, restore armour and return; the target remains tied to the current Hit until settlement or failure.
03 Meet the weapon condition
- ACTION
- Kill the correct target with the exact weapon type Martin requested; an Mk II variant counts as its corresponding base weapon.
- TIP
- If the weapon is in your arsenal, equip it before entering the firing line; do not switch for the final hit.
- RISK / FAILURE CONDITION
- A different weapon preserves base pay but forfeits the conditional $10,000.
- HOW TO RECOVER THE RUN
- If the condition is impossible or already failed, finish for base pay; another weapon appears with the next daily target.
04 Send photo evidence
- ACTION
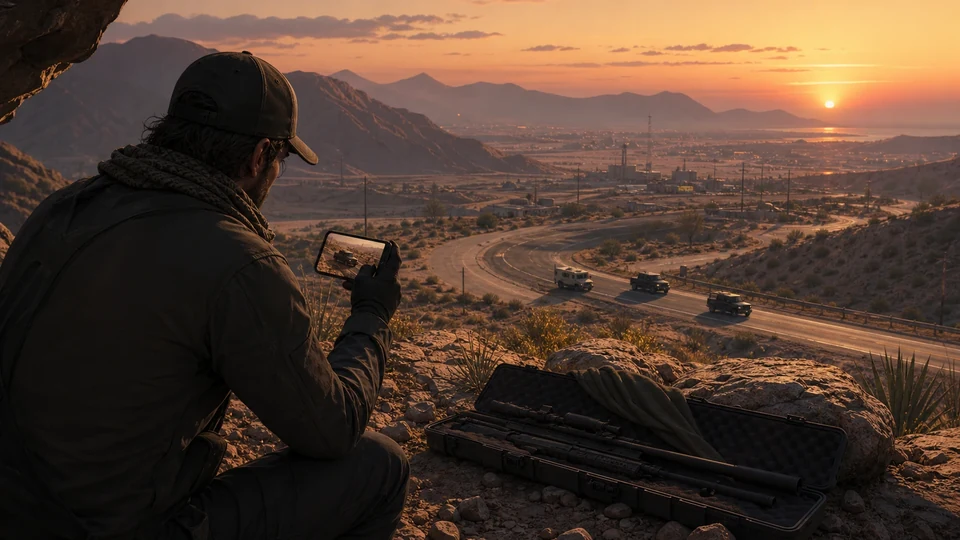
- Approach from safety, open Snapmatic, frame the target's body and choose to send the photo to Martin.
- TIP
- Remove the nearest guard first; the phone lowers your weapon and damage can interrupt the shot.
- RISK / FAILURE CONDITION
- A photo without the recognised body does not close the objective even after a valid kill.
- HOW TO RECOVER THE RUN
- Change angle, move closer and take another photo until the option to send it to Martin appears.
05 Lose the police and settle
- ACTION
- After submitting evidence leave the area, lose the two-star wanted level and wait for settlement.
- TIP
- Park a fast car facing the exit beforehand; a tunnel or covered alley shortens the police search.
- RISK / FAILURE CONDITION
- Changing session before losing the police may interrupt completion and the daily record.
- HOW TO RECOVER THE RUN
- Stay out of sight, do not return to the zone and wait for cash/500 RP before leaving.
02 • Variants and mechanics
Variants and mechanics
Martin's full condition
SoloActive daily marker + requested weapon.
- OBJECTIVE
- Kill with the requested weapon, photograph the body and lose the police.
- MECHANIC
- Reported $20,000 base + $10,000 condition bonus and 500 RP.
- COMPLETION
- Full settlement appears after the wanted level is lost.
- HOW TO RECOVER THE RUN
- If the photo does not recognise the target, change angle; do not leave after the kill alone.
Recovery run without bonus
SoloWeapon condition failed or the correct weapon is unavailable.
- OBJECTIVE
- Kill the target by any method, submit a valid photo and lose the police.
- MECHANIC
- Keeps the reported $20,000 and 500 RP, but without the extra $10,000.
- COMPLETION
- The assignment settles after the wanted level is lost.
- HOW TO RECOVER THE RUN
- Do not restart a completed kill for the bonus—the daily target may be consumed.
03 • Real roles / Strategies
Real roles i Strategies
Assassin and evidence collector
This is a personal solo activity. The same player identifies the target, meets the weapon condition, takes the photo and escapes; there is no partner or payout split.
Confirm the photo and weapon, park for escape, then make one controlled kill. If the condition fails, finish the base run rather than risk losing the whole reward.
Recognise the target region, equip the correct weapon before entering and choose a photo angle protected from guards with a direct route to lose the wanted level.
04 • Reward and economic status
Reported $20,000 + 500 RP • +$10,000 for the weapon
The extra $10,000 requires the requested weapon; photo evidence and losing the police are mandatory for settlement. This is a personal daily reward, not a sustainable hourly rate.
$20,000 for the target; +$10,000 for the specified weapon and photo.
B • community-reportedFor the settled daily target.
B • community-reportedOne target after the daily reset; no unverified reset hour is claimed.
CONFIDENCE: Access/condition A • figures B05 • Common mistakes and recovery
Common mistakes and recovery
Looking on the bounty computer
Madrazo Hit starts from its separate purple Freemode icon.
Correct weapon but no photo
Snapmatic must recognise the body and send evidence to Martin.
Changing session while wanted
Lose the two stars and wait for settlement first.
06 • Readiness checklist
Readiness checklist
- I completed the Bail Office intro
- I know the face and requested weapon
- I planned the escape
- I sent Martin the photo
- I lost the police and received settlement
07 • What next
What next
VIDEO
Video walkthrough
Verified video · EN
GTA Online Madrazo Hits Guide - Easy $30,000!
Daily target, preferred weapon, proof photo and settlement.
- Channel
- TGG
- Published
- 18 Jul 2024
- Checked
- 29 Aug 2026