Contract • Solo / Duo / Trio / Quatro
The Data Contract
Locate the Merryweather base, prepare defensive hardware, steal four drives and protect Avi during the upload.
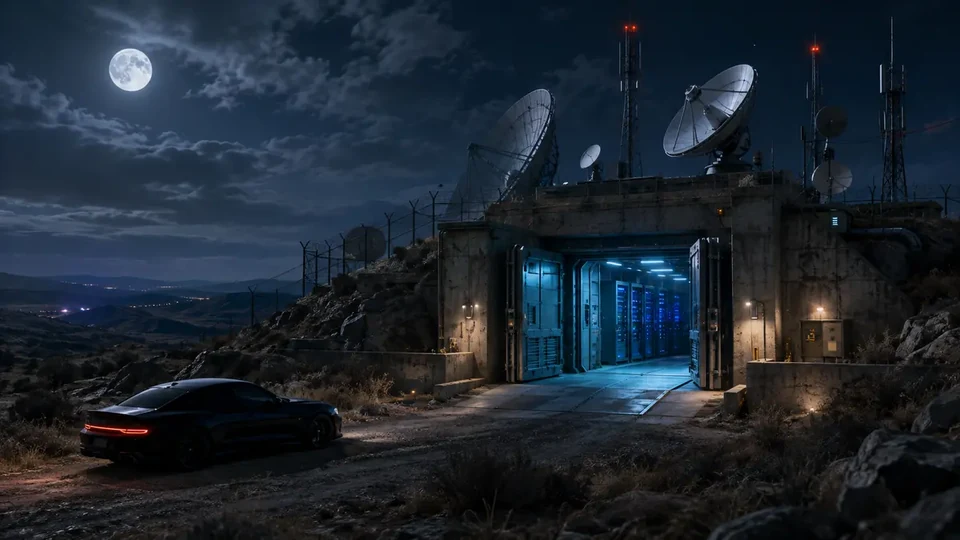 DATA / CONTRACT
01
Complete financial model
Rotation-dependent • no single fixed minute valueThere is no single confirmed minute value; availability depends on a board, phone call or contract rotation.
host and every partner have a separately defined payout
02
Complete step-by-step operation
OPERATIONS GUIDE V2 • SOLO
Locate the Merryweather base, prepare defensive hardware, steal four drives and protect Avi during the upload.
Start here
- Buy an Auto Shop through Maze Bank Foreclosures and complete its setup mission.
Use the upstairs Job Board and select “The Data Contract — complete flow” when the contract is available.
The upper floor of your Auto Shop.
Sessanta and KDJ's Job Board: two Planning Works and the Final Job.
- A second lift, staff, personal quarters and cosmetic Auto Shop upgrades are not required for contracts.
First run and replay
These are two persistent story instructions. They are not the finance calculator's weekly-variant switch.
First story playthrough
On the first “The Data Contract — complete flow” selection, complete both Planning Works shown on the Job Board before launching the Final Job.
Story replay
After completion, wait for the contract to return to the rotating Job Board; every new attempt requires its two Planning Works.
Official mission order
- 01
prep / preparation Planning Work: Safehouse Location
Locate Avi's bunker through the Merryweather contact.
- 02
prep / preparation Planning Work: Defenses
Recover the defensive hardware before the timer expires.
- 03
finale The Robbery
Collect four drives from the bunker, start Avi's upload and defend him from the waves.
Strategies that genuinely change the route
Full Avi defence package
- When
- When the crew can collect the Insurgent, AA Trailer and Wastelander within the preparation timer.
- Plan
- First divide the three hardware targets, disconnect four drives in pairs and position the vehicles at Elysian Island to cover the terminal from different directions.
- Trade-off
- More hardware strengthens the upload defence, but one distant item is not worth losing the whole preparation.
Plan for the selected team: SOLO
Selected in the calculator • SOLO for “The Data Contract — complete flow”: SOLO operator: Hardware coordinator + Drive operator + Bunker cover + Upload defender.
Concrete roles
Divides the three vehicles under the timer and calls the return to delivery. Disconnects all four drives in the mainframe rooms. Protects the operator during interactions and leads the shared bunker retreat. Mans acquired hardware and prioritizes helicopters and heavy vehicles around Avi.
Actions, risk and run recovery
- 01
prep / preparationSafehouse Location - Action
- Take or follow the Merryweather vehicle, acquire its transponder and identify the CEO's bunker without losing the required equipment.
- Tip
- In Safehouse Location photograph the correct site and wait for Avi's confirmation.
- Risk / failure condition
- A wrong frame does not reveal the finale defense site.
- How to recover the run
- Reposition, frame the full marked site and retake the photo.
- 02
prep / preparationDefenses — time limit - Action
- Within ten minutes, collect the equipment available on the map; anything missed will not be available during Avi's defence.
- Tip
- In Defenses plan the route against the timer before starting collection.
- Risk / failure condition
- An improvised route can leave hardware uncollected when time expires.
- How to recover the run
- Move to the nearest active marker and finish the remaining points in the shortest loop.
- 03
prep / preparationDefenses — hardware - Action
- Secure as many of the three options as possible: the Insurgent Pick-Up Custom, Anti-Aircraft Trailer and weapon-carrying Wastelander.
- Tip
- Deliver every defense device and confirm the set on the Job Board.
- Risk / failure condition
- Missing hardware leaves one approach to Avi unsupported.
- How to recover the run
- Return for the final crate, protect the transport and place the device before the finale.
- 04
finaleBunker entry - Action
- In the finale, drive to Don Percival's bunker and use the acquired transponder to open the secured entrance.
- Tip
- Enter the bunker through one point and keep the driver ready on the exit route.
- Risk / failure condition
- Split entries trap collectors between patrols.
- How to recover the run
- Return to the shared door, clear the corridor and move the drive operator in the middle.
- 05
finaleFour hard drives - Action
- Search the mainframe rooms, disconnect all four marked drives and cover the player performing each interaction.
- Tip
- Assign all four hard drives to specific markers and confirm the set before retreating.
- Risk / failure condition
- A missed drive blocks the upload despite escaping the bunker.
- How to recover the run
- Do not leave the area; return to the final room and collect the missing drive.
- 06
finaleLeaving the bunker - Action
- Return to the vehicle along the same route while fighting Merryweather, keeping the team together in the narrow corridors.
- Tip
- Leave the bunker by the cleared route and protect the player carrying the final drive.
- Risk / failure condition
- Taking a new corridor triggers more resistance and can isolate the drive.
- How to recover the run
- Return to the known route, regroup and escort the objective between cover players.
- 07
finaleReaching Avi - Action
- Drive to Elysian Island despite pursuing Mesas and Buzzards; Avi must survive, so avoid a prolonged roadside fight.
- Tip
- At Avi's site park vehicles clear of defense positions and the terminal.
- Risk / failure condition
- Blocked access delays the upload before the first Merryweather wave.
- How to recover the run
- Move the vehicle out of the yard, assign sectors and only then start the interaction.
- 08
finaleStarting the upload - Action
- Insert all four drives into the terminal in the portable office to begin the data upload.
- Tip
- One operator starts the upload and does not leave the station for one enemy.
- Risk / failure condition
- Leaving the terminal stalls progress while more waves continue arriving.
- How to recover the run
- Defenders close the nearest entrance and the operator immediately resumes the same upload.
- 09
finaleDefend Avi - Action
- Use the acquired hardware against successive waves of infantry, Mesas, helicopters, Half-tracks and Weaponized Tampas until the upload finishes.
- Tip
- Defenders hold assigned sectors until Avi's upload fully completes.
- Risk / failure condition
- Chasing beyond position opens the other flank and exposes Avi.
- How to recover the run
- Return to the defense point, clear the nearest wave and rebuild the ring around the station.
Common mistakes
Unplanned hardware collection
- Consequence
- Two players chasing one target leave another vehicle unavailable for the finale.
- Correction
- Abort the duplicate run, redirect the closer player to the free target and deliver acquired hardware before a risky final trip.
Uncovered hard drive
- Consequence
- An interrupted interaction in the tight bunker splits the crew and stalls the set of four drives.
- Correction
- Leave the terminal, clear the nearest doorway, heal the operator and return to the same drive before changing rooms.
Defence hardware without sectors
- Consequence
- Stacking all hardware in one spot opens the rear of the portable office and exposes Avi.
- Correction
- Move the healthiest vehicle to the open road, keep one defender at the terminal and rebuild sectors.
Pre-launch checklist
The three hardware targets have separate drivers before the timer begins.
The four drives and three upload-defence sectors have assigned operators.
Assign the Insurgent, AA Trailer and Wastelander to named drivers before the timer.
The operator disconnects a drive only after cover controls both mainframe entrances.
Place vehicles so the AA Trailer sees helicopters while the Insurgent and Wastelander close ground roads.
03
Expanded informational overview
Guide scopeThis section organizes the complete cycle: requirements, phases, figures and dependencies. The detailed operation flow is in the walkthrough above.
04
How the full cycle works
This section complements the walkthrough with full-cycle dependencies: unlock, preparations, finale, settlement and the next available attempt.
Unlock
Requirement: Auto Shop.
Contract selection
Availability may depend on a board, phone call or activity rotation.
Preparation
The model includes required stages before the final settlement.
Completion
Team choice affects pace, host payout and each partner's payout.
Replay or rotation
There is no single confirmed minute value; availability depends on a board, phone call or contract rotation.
05
What affects the result
Payout and time cover the complete cycle, not only its final job.
The host and every participant have separately defined payouts; the team average does not replace those values.
Setup fees and commissions are deducted before the net result.
Fast/typical/beginner: 30 min / 45 min / 1 hr 10 min.
Main strengths
- Lower entry cost than major heists.
- Flexible supported team size.
Constraints
- Some contracts depend on board rotation.
- A partner may receive a different payout from the host.
06
Solo / Duo / Trio / Quatro variants
Every supported team size shows its host, partner and team model. Provisional rates are clearly labelled, and incomplete data is explained alongside the result.
Solo: full pace control and no crew wait.
- Host / owner
- $153,000
- Team net
- $153,000
- Rotation
- Rotation-dependentno single fixed minute value
Duo: the host and 1 partner have separate payouts.
- Host / owner
- $153,000
- Each partner
- $50,000
- Team net
- $203,000
- Rotation
- Rotation-dependentno single fixed minute value
Trio: the host and 2 partners have separate payouts.
- Host / owner
- $153,000
- Each partner
- $50,000
- Team net
- $253,000
- Rotation
- Rotation-dependentno single fixed minute value
Quatro: the host and 3 partners have separate payouts.
- Host / owner
- $153,000
- Each partner
- $50,000
- Team net
- $303,000
- Rotation
- Rotation-dependentno single fixed minute value
07
Complete figures by team
Typical values for the selected cycle; every cell also contains a min–max range.
| Team | Cooldown | Team gross | Costs + fees | Host / owner | Each partner | Team net | Host / owner $/h | Team $/h |
|---|---|---|---|---|---|---|---|---|
| SOLO | Rotation-dependentRotation • no single fixed minute value | $153,000min: $153,000 · typical: $153,000 · max: $153,000 | $0min: $0 · typical: $0 · max: $0 | $153,000min: $153,000 · typical: $153,000 · max: $153,000 | — | $153,000min: $153,000 · typical: $153,000 · max: $153,000 | $204,000min: $204,000 · typical: $204,000 · max: $204,000 | $204,000min: $204,000 · typical: $204,000 · max: $204,000 |
| DUO | Rotation-dependentRotation • no single fixed minute value | $203,000min: $203,000 · typical: $203,000 · max: $203,000 | $0min: $0 · typical: $0 · max: $0 | $153,000min: $153,000 · typical: $153,000 · max: $153,000 | $50,000min: $50,000 · typical: $50,000 · max: $50,000 | $203,000min: $203,000 · typical: $203,000 · max: $203,000 | $204,000min: $204,000 · typical: $204,000 · max: $204,000 | $270,667min: $270,667 · typical: $270,667 · max: $270,667 |
| TRIO | Rotation-dependentRotation • no single fixed minute value | $253,000min: $253,000 · typical: $253,000 · max: $253,000 | $0min: $0 · typical: $0 · max: $0 | $153,000min: $153,000 · typical: $153,000 · max: $153,000 | $50,000min: $50,000 · typical: $50,000 · max: $50,000 | $253,000min: $253,000 · typical: $253,000 · max: $253,000 | $204,000min: $204,000 · typical: $204,000 · max: $204,000 | $337,333min: $337,333 · typical: $337,333 · max: $337,333 |
| QUATRO | Rotation-dependentRotation • no single fixed minute value | $303,000min: $303,000 · typical: $303,000 · max: $303,000 | $0min: $0 · typical: $0 · max: $0 | $153,000min: $153,000 · typical: $153,000 · max: $153,000 | $50,000min: $50,000 · typical: $50,000 · max: $50,000 | $303,000min: $303,000 · typical: $303,000 · max: $303,000 | $204,000min: $204,000 · typical: $204,000 · max: $204,000 | $404,000min: $404,000 · typical: $404,000 · max: $404,000 |
08
Key facts
VIDEO
Video walkthrough
Verified video · EN
The Data Contract SOLO Guide | GTA 5 Online Los Santos Tuners DLC
Safehouse, defenses, loadout and finale; mechanics only.
- Channel
- Gtamen
- Published
- 21 Jul 2021
- Checked
- 29 Aug 2026